Up to 40% Off Selected Essentials* - Shop Top of the Picks 

20% Off Art & Craft with code  ART20 - Terms & Conditions apply

20% Off Exercise Books with code  EXBOOKS  - Terms & Conditions apply

Please ensure that orders for stocked products are placed by 12pm on Monday 23rd December for delivery on 24th December. Deliveries will restart from 3rd January 2025.

Crafting the Perfect Nativity Display

Nativity Display
Loading...
Crafting the Perfect Nativity Display

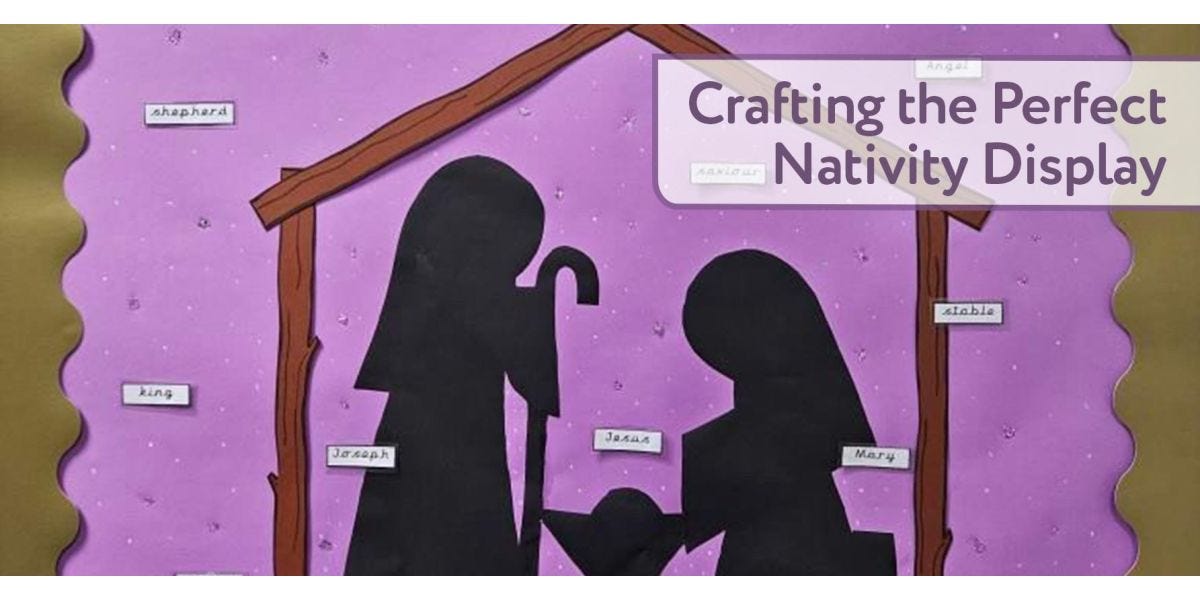
Hi everyone! I'm Alice (miss.miles.eyfs) and I'm an EYFS Reception class teacher. This blog post is all about displays and in particular how I made our Christmas Nativity display (with the help of my very talented, superhero Learning Support Assistant - Mr K!).

As I teach in a faith primary school, a traditional Nativity scene was my go-to for our Christmas display. We decided to go bold and simple with this for a few reasons. One being that children are always so busy with play, that they won't necessarily stop and look at a display for ages. By creating a bold and simple nativity scene, children can glance at it and know instantly what it is and can communicate that to people clearly. Another being that we want to actually display work on the board too, so we have left plenty of room to allow for this.

We only used KCS products for this display and are so happy with them and how the display has turned out! The quality of the paper is amazing and meant that we could cut out pictures easily, knowing that the paper wouldn't tear in the process. Products we used include:

With working in a faith school, we try to stick to the liturgical colours for our RE board and as Christmas is a time celebrated within Church, purple was the obvious choice! We found a simple nativity scene after a quick Google search that seemed like it would be the easiest to draw out/trace and then cut out. We used our black roll of backing paper for this to create a silhouette style image and then glued this onto the purple backing to avoid any gaping. We then used the brown card to cut out a simple stable and drew on a wood effect/pattern to give it a nicer finish. The contrast of colours between the black and the brown helps the stable to stand out from the rest of the nativity scene. We decided on a Star of David style star which is often a symbol of different faiths, but also recognised and associated with the birth of Jesus. We also liked the maths link of using two equilateral triangles! Finishing the display off with a gold wavy border is a great way to frame your masterpiece and nothing says Christmas like a bit of gold and shimmer!

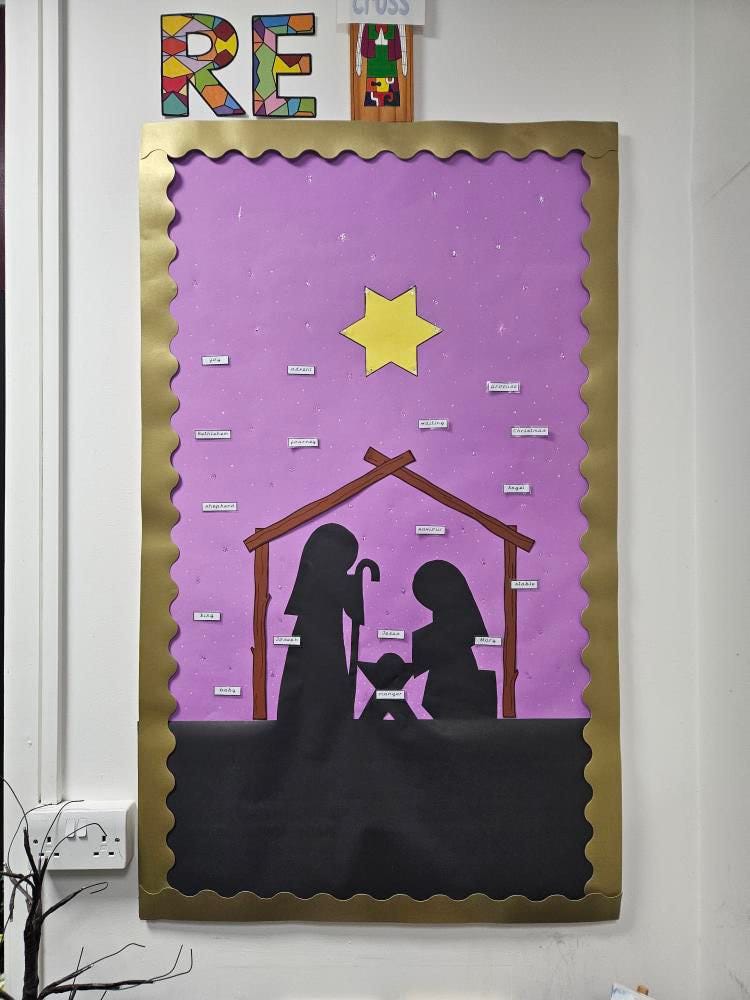
More recently, our topic displays have been used as a working display where we pin up work and take it down again for children to continue with later on. It is a great way of showcasing their work and celebrating not only the final product, but the process! With this is mind, it was important that we made sure our board has enough going on to show it is a Christmas nativity scene, but not so much that once the work is added, it will get lost. 

When planning displays, it is always good to think about how the children will see it and what the display will be used for. Of course we want our displays to look nice and appealing but also practical. Consider these questions... is the main purpose to display work? Is it to show what the topic is immediately when people walk in? Is it a working wall with information and tool kits? Is it a mixture of all of these?

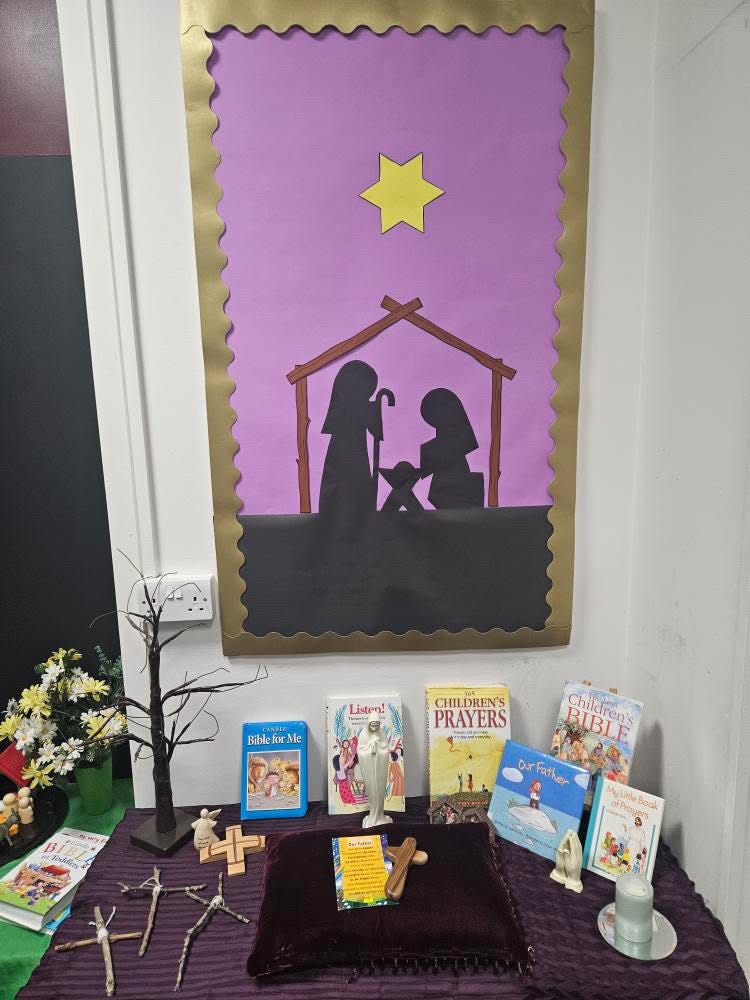
Whatever the purpose of your display, KCS will have you covered with their fantastic range of high quality products to suit all of your needs. We couldn't be happier and know that the display will be durable and will remain fresh and bright throughout the festive Christmas season.... and beyond, as our topic will continue into the new year!

Previous article:
Next article:
KCS Education is a trading style of CSG Global Education Ltd. Company Registration No: 01702231 (England and Wales). VAT No: GB 408 8459 25.
Registered Address: 1 Abbey Wood Road, Kings Hill, West Malling, ME19 4YT
© 2025