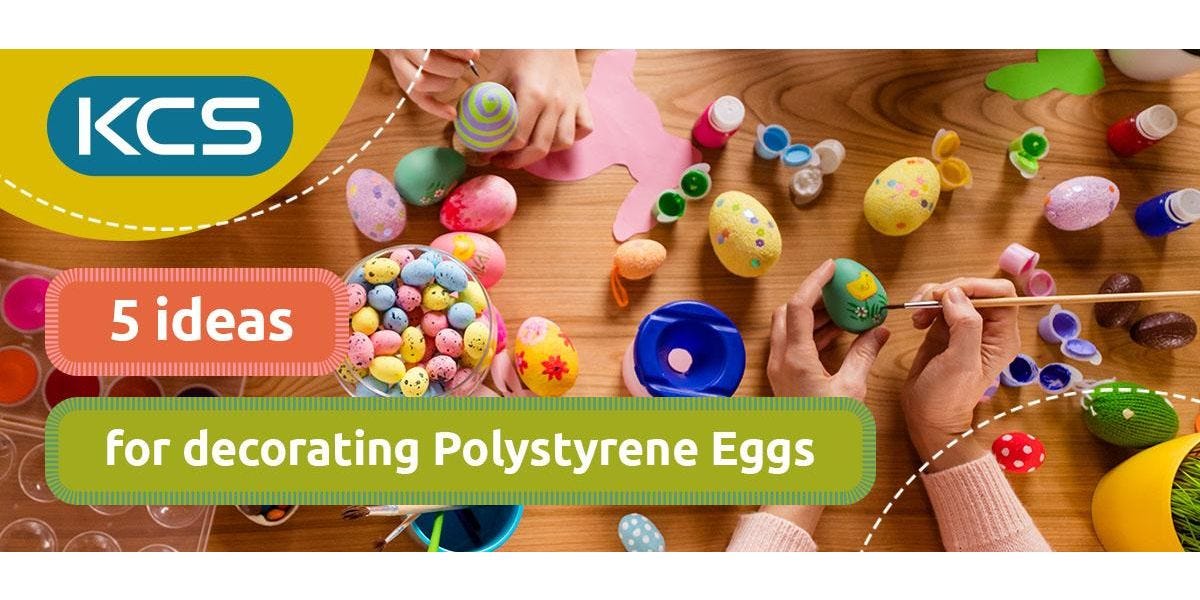
Easter is almost here with hot cross buns filling our bakeries, the sun rising earlier, and Easter Eggs are starting to fill shelves. Which means it’s not long until we’re all knee deep in pastel colours, glitter, feathers and fluffy pom poms!
Get ahead of the Easter planning by having a look at our 5 ideas for decorating Polystyrene Eggs this Spring:
1 – Sparkly Eggs
You will need
- Polystyrene Eggs - Polystyrene Eggs White Pack 10
- Pencil / Wooden stick to hold egg
- PVA Glue - YOU General Purpose PVA Each 5ltr
- Glitter - Glitter - Glitter, Sequins, Beads & Gemstones - Collage & Craft - Art & Design
How-to
- Lay out some paper or protective material.
- Poke the pencil / wooden stick into the base of the egg.
- Cover the egg in PVA glue.
- Coat in glitter and then leave to dry.
Optional: Why not create different patterns and styles by drawing glue patterns with a spreader and using different glitters to decorate.
2 – Marbling
You will need
- Polystyrene Eggs - Polystyrene Eggs White Pack 10
- Pencil / Wooden stick to hold egg
- White Paint - Ready Mixed Paint White Each 5ltr
- Coloured paints of your choice - Ready Mixed Pastel Paint 6 Pack
- Shaving Foam
- Large Dish
How-to
- Stick a pencil or wooden stick into the base of the egg, paint the outside with white paint as a base. Place to one side and leave to dry.
- Fill a large dish with a layer of shaving cream.
- Place dots of colour on top of the shaving cream.
- Using the end of a paintbrush or pencil, swirl around the colours and shaving foam creating new patterns.
- Grab the egg with dried white paint, keeping the pencil in the base, hover the egg over the colour mix and roll over the surface, making sure to coat all sides of the egg.
- Let sit for 3 minutes.
- Wipe off excess shaving foam to reveal your marbled egg!
Optional: Why not use our marbling inks instead of shaving foam and paint for a cleaner marble pattern?
3 – Paper Mache
You will need
- Polystyrene Eggs - Polystyrene Eggs White Pack 10
- Pencil / Wooden stick to hold egg
- Tissue Paper - Tissue Paper - Paper & Card - Art & Design
- PVA Glue or Decoupage Medium - YOU General Purpose PVA Each 5ltr
How-to
- Tear up some tissue paper into random shapes and sizes, place to one side.
- Mix 1 part PVA glue with 2 parts water to make a paper mache paste.
- Poke the pencil / wooden stick into the base of the egg.
- Take a piece of tissue paper and dip into the paper mache paste, place the paper straight onto the egg and smooth it into place.
- Repeat until the egg is covered.
- Let dry.
Optional: Why not make it a mosaic and cut out small squares or circles of tissue paper instead of random shapes.
4 – Painting
You will need
- Polystyrene Eggs - Polystyrene Eggs White Pack 10
- Pencil / Wooden stick to hold egg
- Ready Mixed Paints - Ready Mixed Pastel Paint 6 Pack
- Paint Brushes and applicators
How-to
- Stick a pencil or wooden stick into the base of the egg, paint the outside with white paint as a base. Place to one side and leave to dry.
- Gather some paints and applicators, you can also use this time to plan out your egg design.
- Once the white paint is dry, you can either sketch out a design or dive straight in to decorating your egg with paint!
Optional: Why not try different painting techniques and tools to create new patterns and designs, for example using the tip of a paintbrush for flower petals, or sheep’s wool.
5 – Polystyrene Egg Wreath
You will need
- Decorated Polystyrene Eggs (see above)
- Wire circle, modelling wire, or some form of circular guide
- Hot glue gun - Texet Large Hot Melt Glue Gun
How-to
- Decorate your polystyrene eggs, it will work best if you have a mix of different techniques like the ones listed above.
- Grab your circular guide and decorated eggs, roughly lay out where you’d like the eggs to sit.
- Grab your hot glue gun and start sticking the eggs to the guide and to each other. For best results layer your eggs, this works best if you have different sized eggs.
Optional: Why not make this a whole class project and have each child decorate their own egg or two which will feature on the finished wreath.